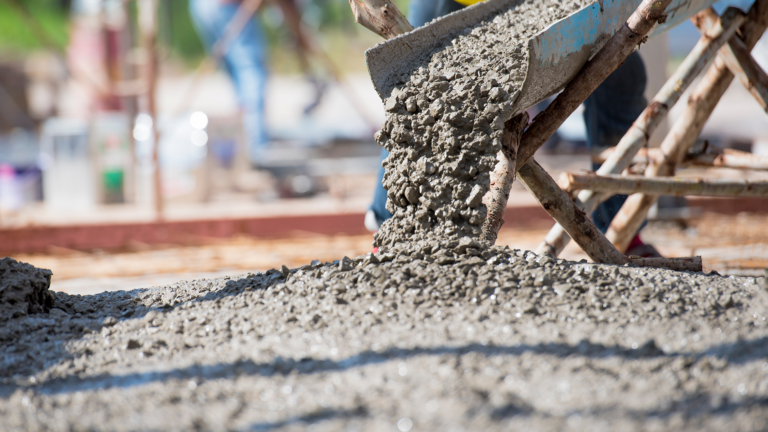
By 2025, concrete has evolved from being merely the ground beneath our feet to becoming a focal point. Commercial spaces in Australia and around the world are adopting decorative concrete because of its ability to create elegant, design-forward spaces in addition to its practical strength.
Aesthetics, performance, and long-term durability are driving the evolution of concrete in commercial design, from polished surfaces to exposed aggregate concrete finishes. Here are some of the most notable developments in commercial concrete design, along with the reasons they are changing our perception of this historically practical material.
1. Polished Concrete: The Minimalist’s Dream
For commercial interiors, polished concrete is still a popular option. Its polished, mirror-like finish provides a polished look that works well in a variety of business settings, such as cafes, offices, and showrooms.
The popularity of polished concrete can be attributed to several practical benefits:
- Durability: Capable of withstanding heavy foot traffic.
- Maintenance ease: Less maintenance is needed than with conventional floor coverings.
- Sustainability: Makes use of the pre-existing concrete slab and does away with the need for extra floor materials.
Because of their environmentally beneficial qualities, polished finishes are becoming more popular in commercial construction, where sustainability is a major concern. Without the use of artificial overlays, polishing a floor also brings out the natural aggregates and tones in the concrete, giving each floor a distinctive appearance.
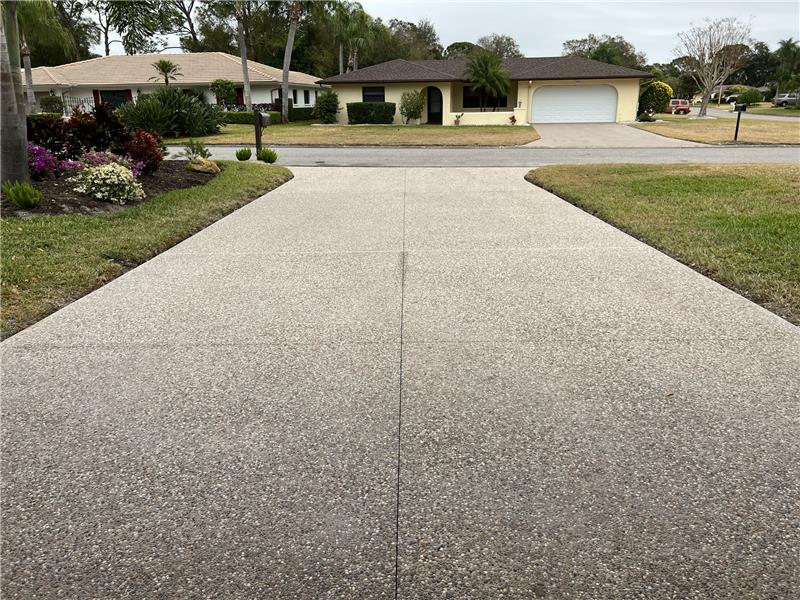
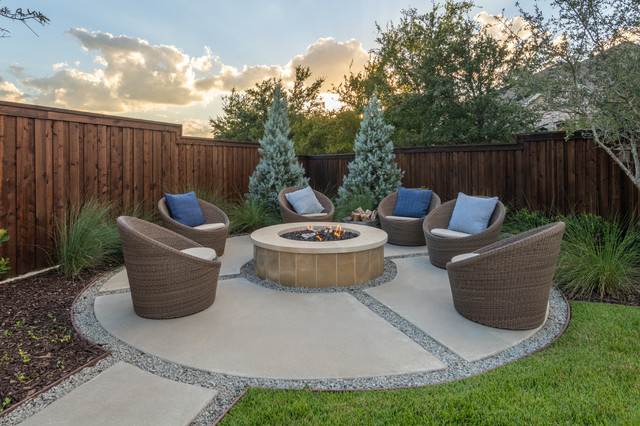
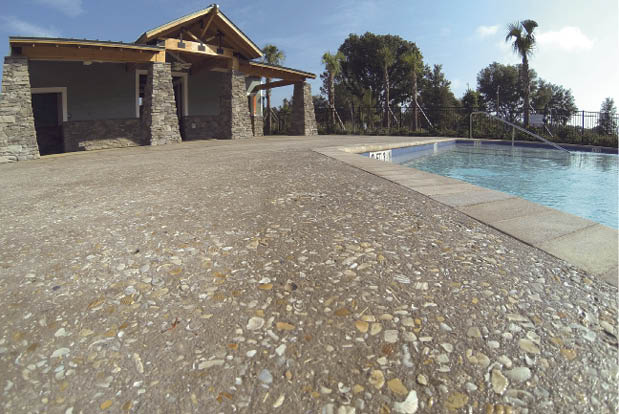
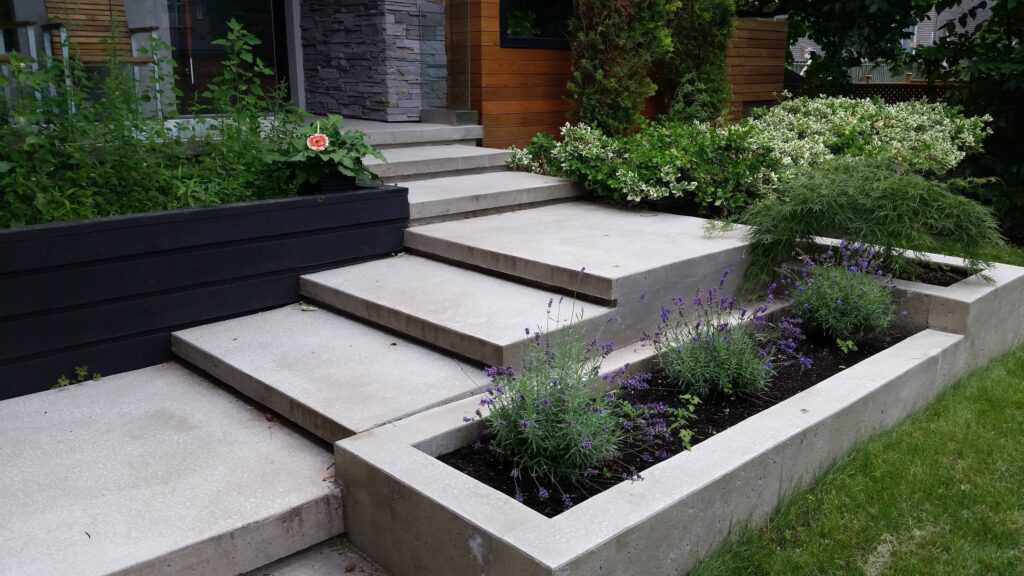
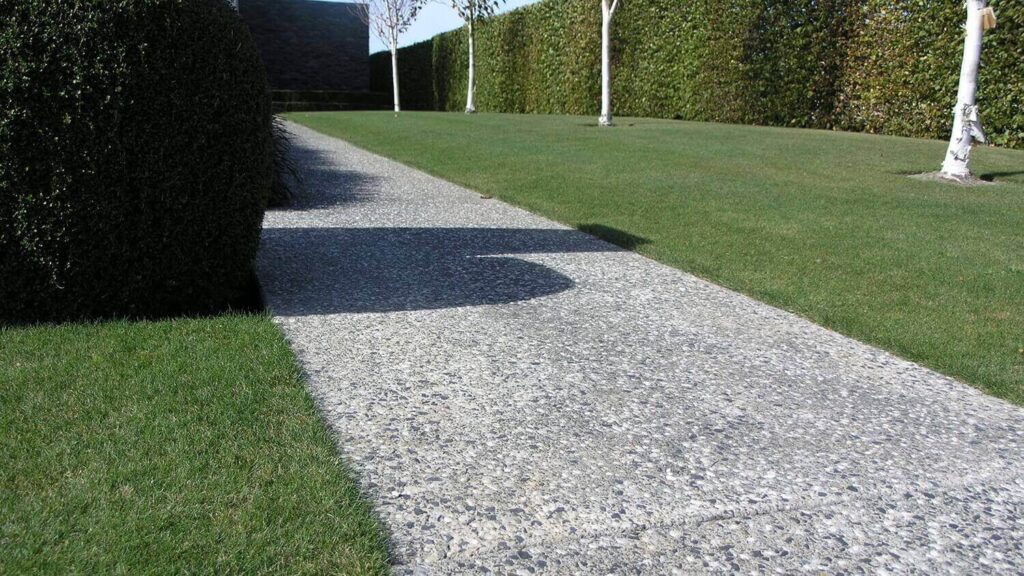
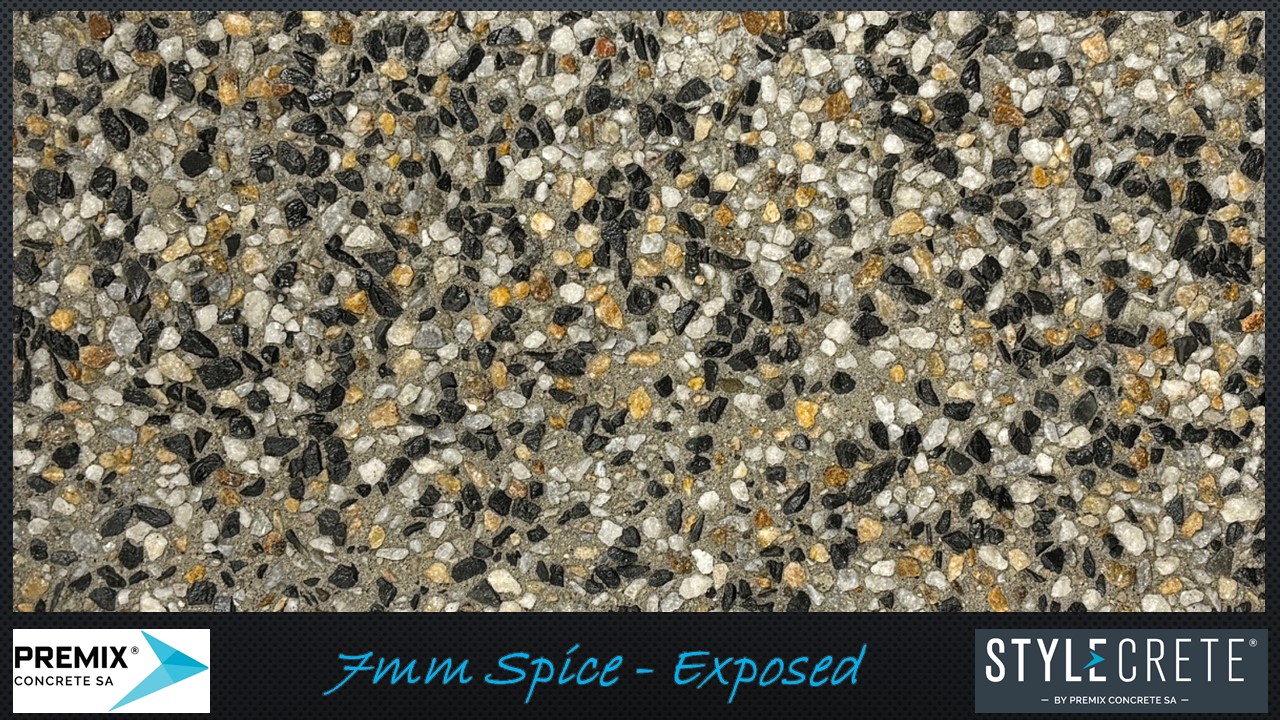
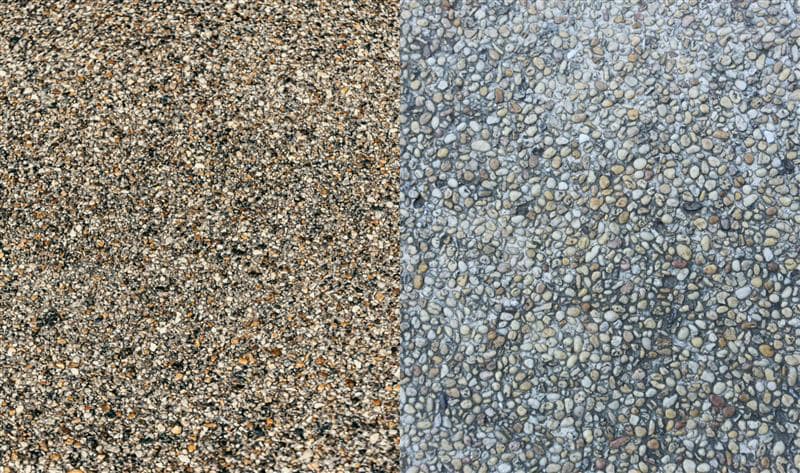
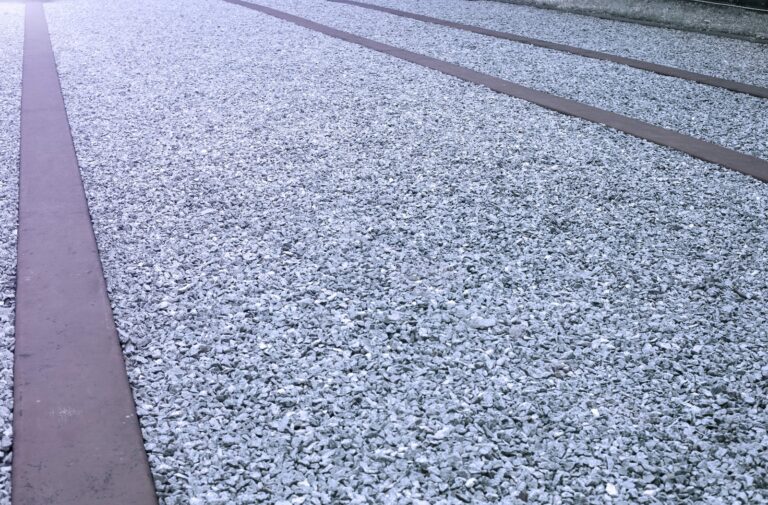
2. Exposed Aggregate Concrete: Textural Appeal for Outdoor and Transitional Spaces
Using exposed aggregate concrete is another trend that is rapidly expanding, particularly in transitional areas like courtyards, entrances, parking lots, and walkways for pedestrians.
Both form and function are provided by exposed aggregate:
- Slip resistance is essential for ensuring safety.
- Visual texture, giving it a luxurious, organic stone-like look.
- A range of coloured options for exposed aggregate concrete to blend in with the surrounding architecture.
To expose the underlying stones, pebbles, or decorative aggregates, the top layer of concrete paste is removed. Because its textured surface stays cooler underfoot than tiles or asphalt, this finish performs especially well in Australian spring and summer weather.
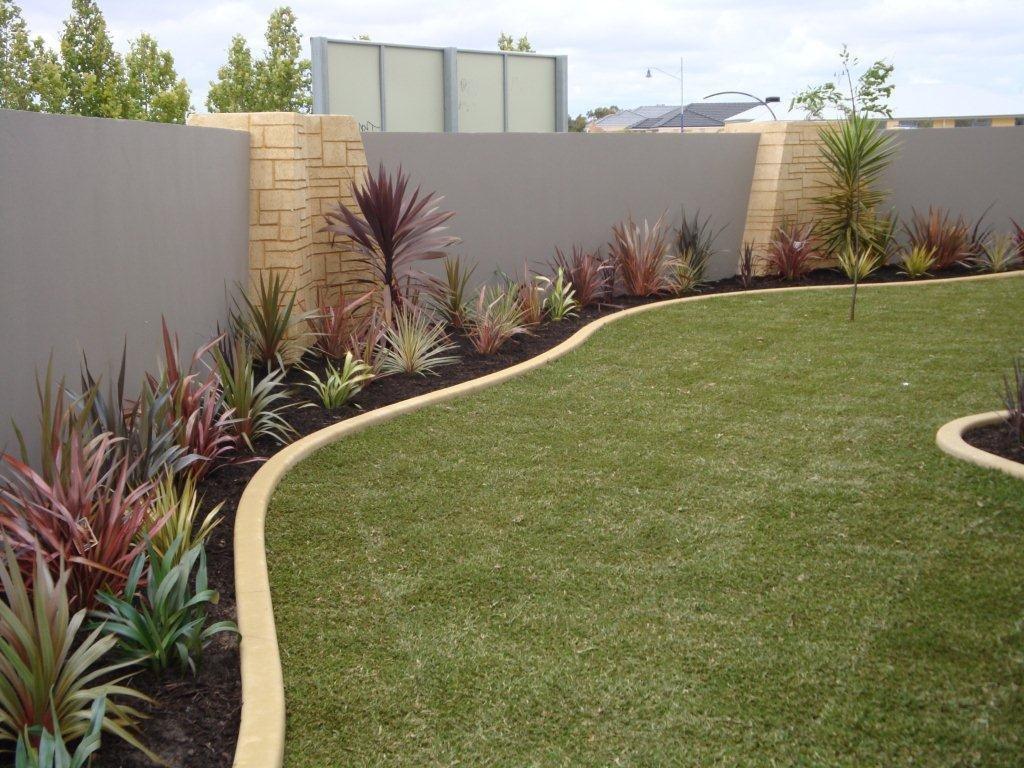
3. Decorative Coloured Concrete: Branding Through Design
Colour is more than just an aesthetic decision in commercial settings; it’s an integral component of the brand experience. For this reason, decorative coloured concrete is being used more imaginatively in corporate and retail settings.
Coloured concrete, which comes in a variety of shades and finishes, enables:
- Zoning in commercial open-plan layouts.
- Visual aids for safety pathways or walkways.
- Smooth incorporation of architectural or landscaping features.
Designers are increasingly using coloured concrete solutions to bring space and identity together, whether it’s through bold colours for retail branding or soft earth tones for a naturalistic setting.
Advancements in pigments and sealers have made coloured concrete more UV-resistant and longer-lasting; especially important in Australian climates where sun exposure is intense during spring and summer.
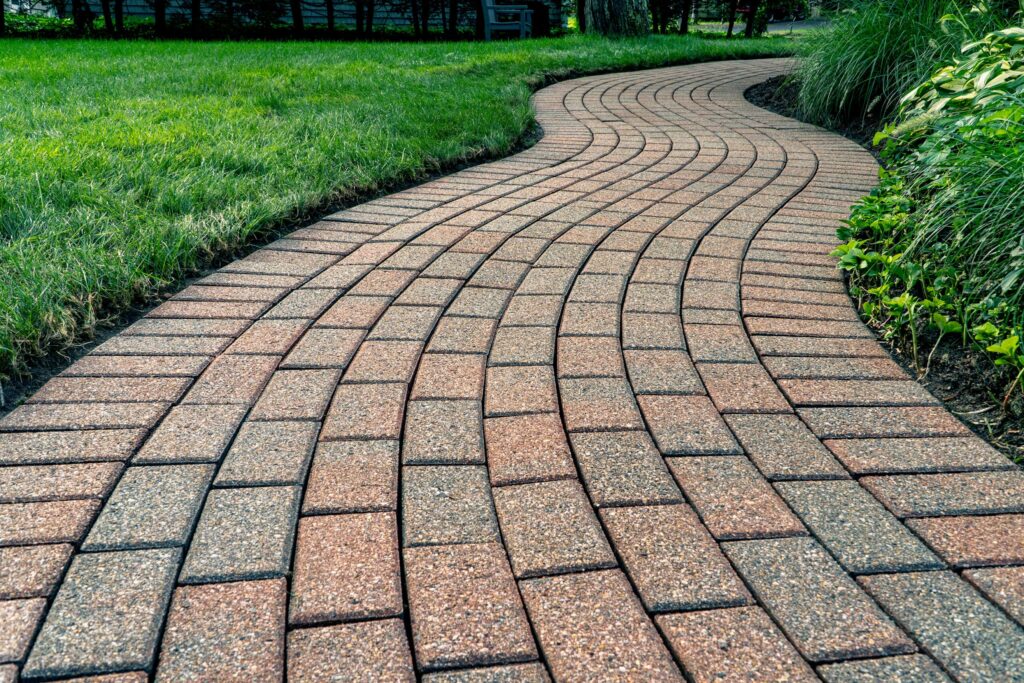
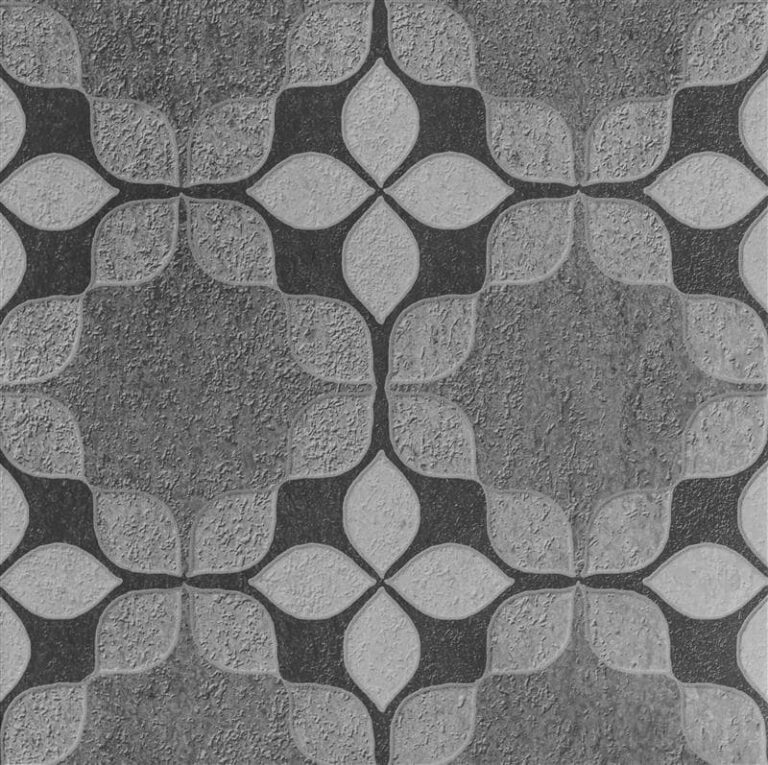
4. Designer Concrete Surfaces: Custom Patterns and Imprints
Additionally, there is a growing need for designer concrete solutions, particularly for projects that want to have a visual impact. These surfaces mimic other materials like brick, slate, or wood by incorporating textures, patterns, and even imprints, going beyond conventional finishes.
Methods like:
- Concrete that has been stamped to mimic natural paving.
- Patterns cut with a saw (for clean geometric lines).
- Overlays of coloured concrete (to update existing surfaces).
These days, mixed-use developments, retail establishments, and hospitality all make extensive use of them. Implementing these customised solutions is ideal during the spring, which is a popular season for outdoor improvements and commercial renovations.
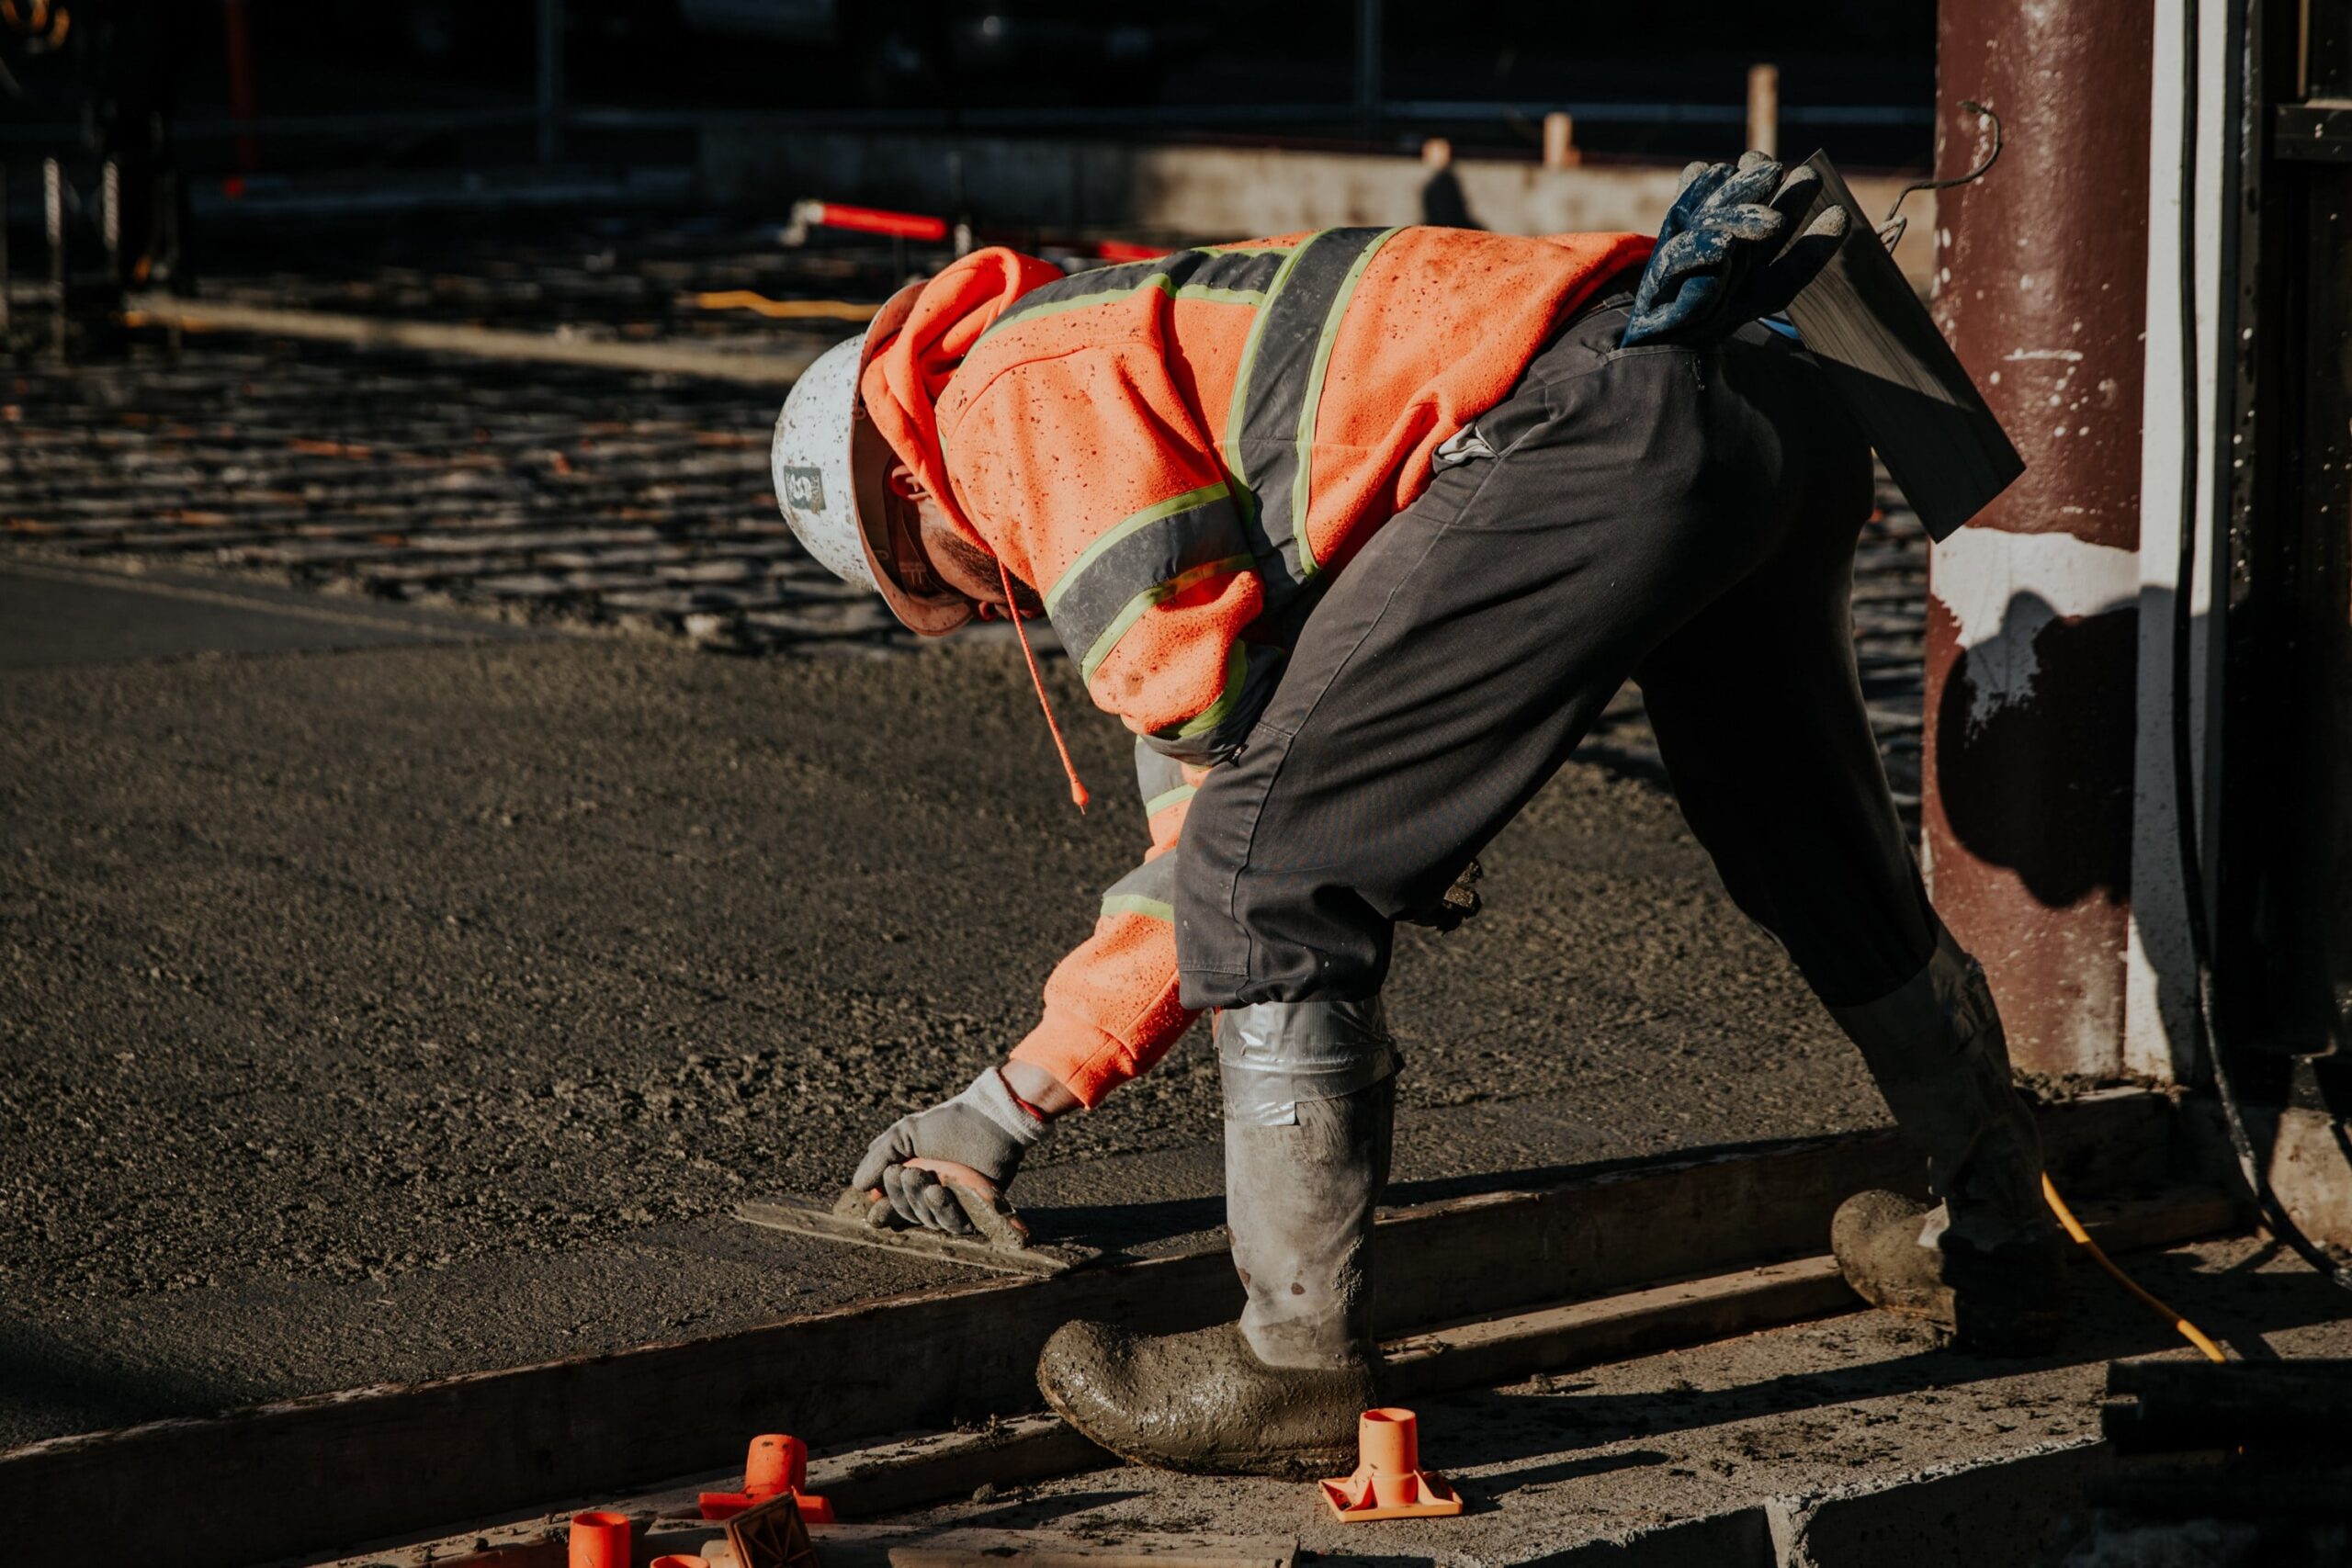
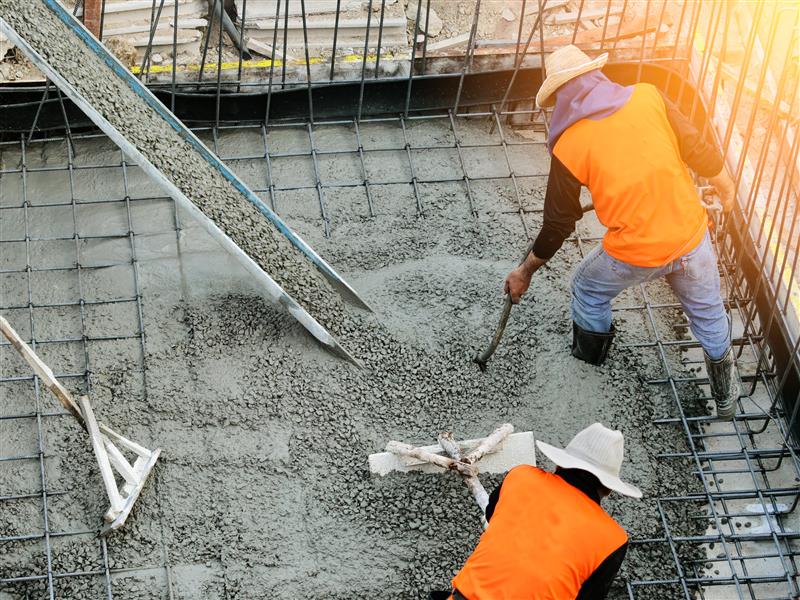
5. Steel Fibre Reinforced Concrete: Strength Meets Style
Steel fibre reinforced concrete is becoming more popular for projects that need both high strength and a beautiful finish, such as commercial loading zones, warehouses with visible floors, or high-impact entranceways.
It offers:
- Improved resistance to cracking and tensile strength.
- Longer joint-free spans allow for cleaner, continuous surfaces.
- Compatibility with ornamental finishes such as coloured or polished concrete.
This type of concrete enables both structural performance and aesthetic appeal, so designers are no longer forced to choose between the two. Commercial sites that must simultaneously meet utility and customer-facing presentation requirements will find it especially helpful.
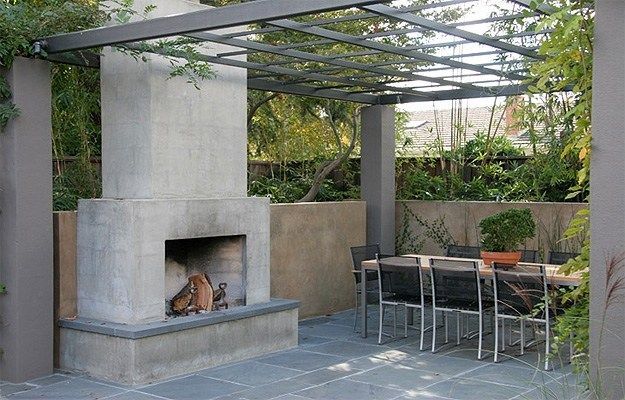
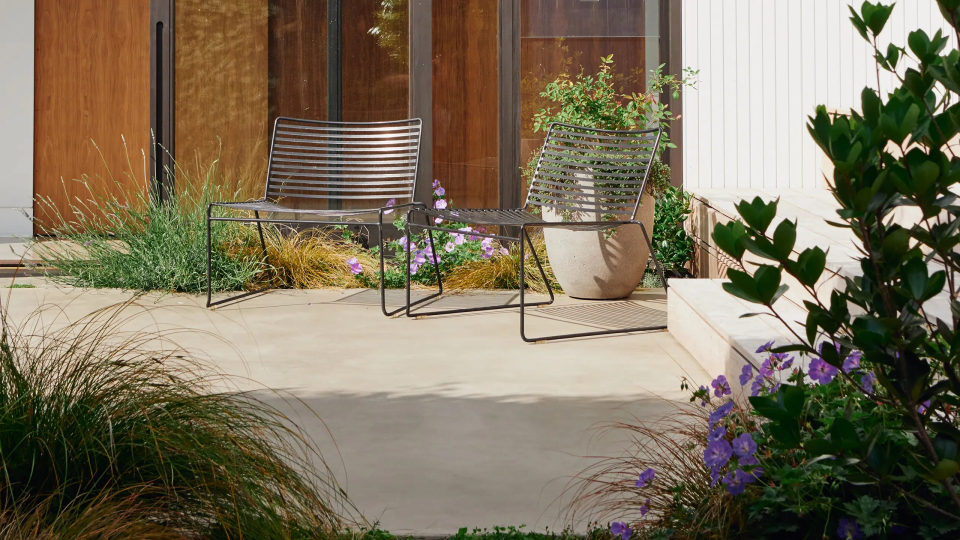
6. The Shift Toward Low-Gloss Sealers and Matte Finishes
Modern commercial interiors used to be characterised by high-gloss concrete, but in 2025, matte and low-sheen finishes are becoming more popular. These softer coatings:
- Cut down on glare in areas that receive plenty of sunlight.
- Provide a more organic, natural appearance.
- Are simpler to maintain in areas with lots of traffic.
This trend is in line with the larger trend in commercial design towards earthy, biophilic spaces, which use natural textures and materials to enhance the well-being of their occupants.
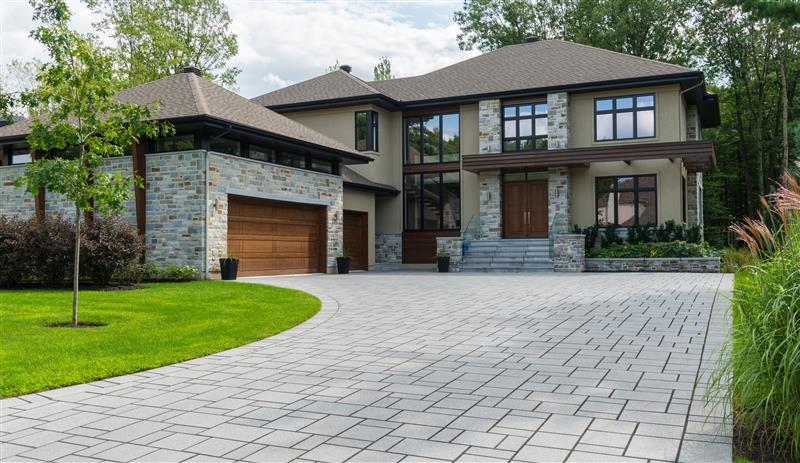
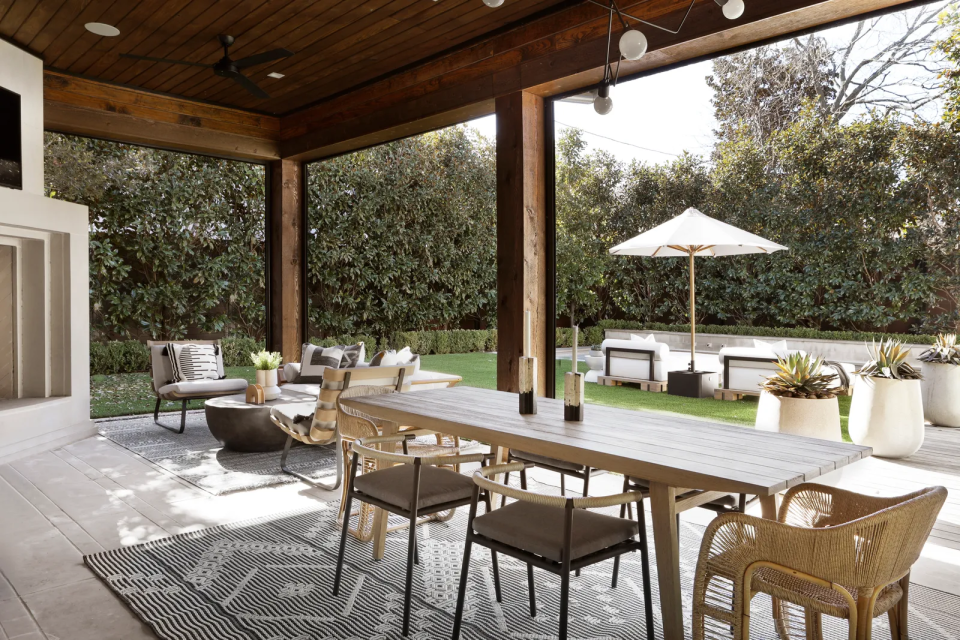
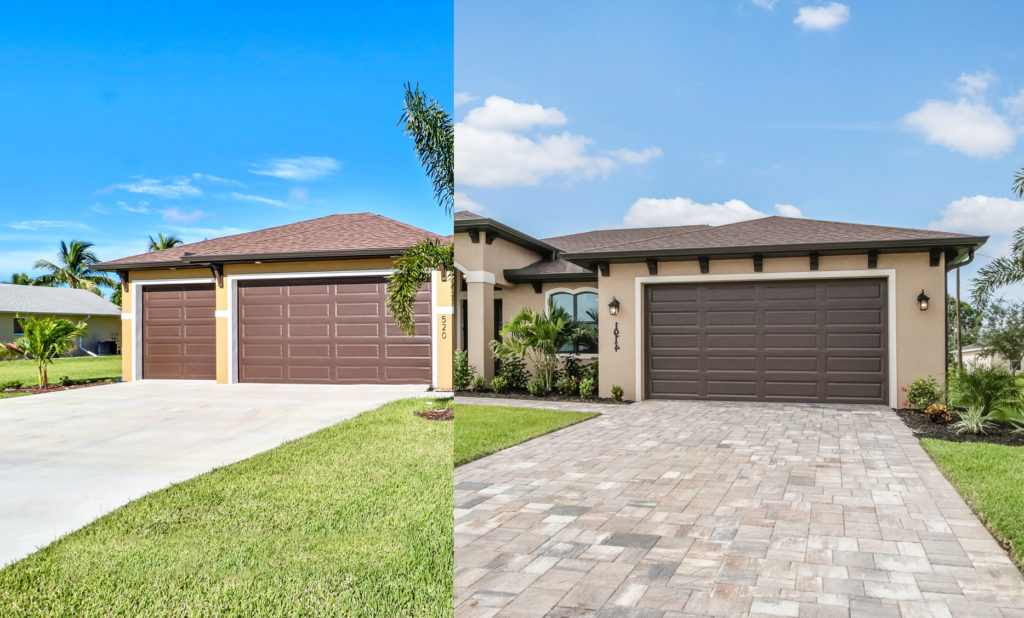
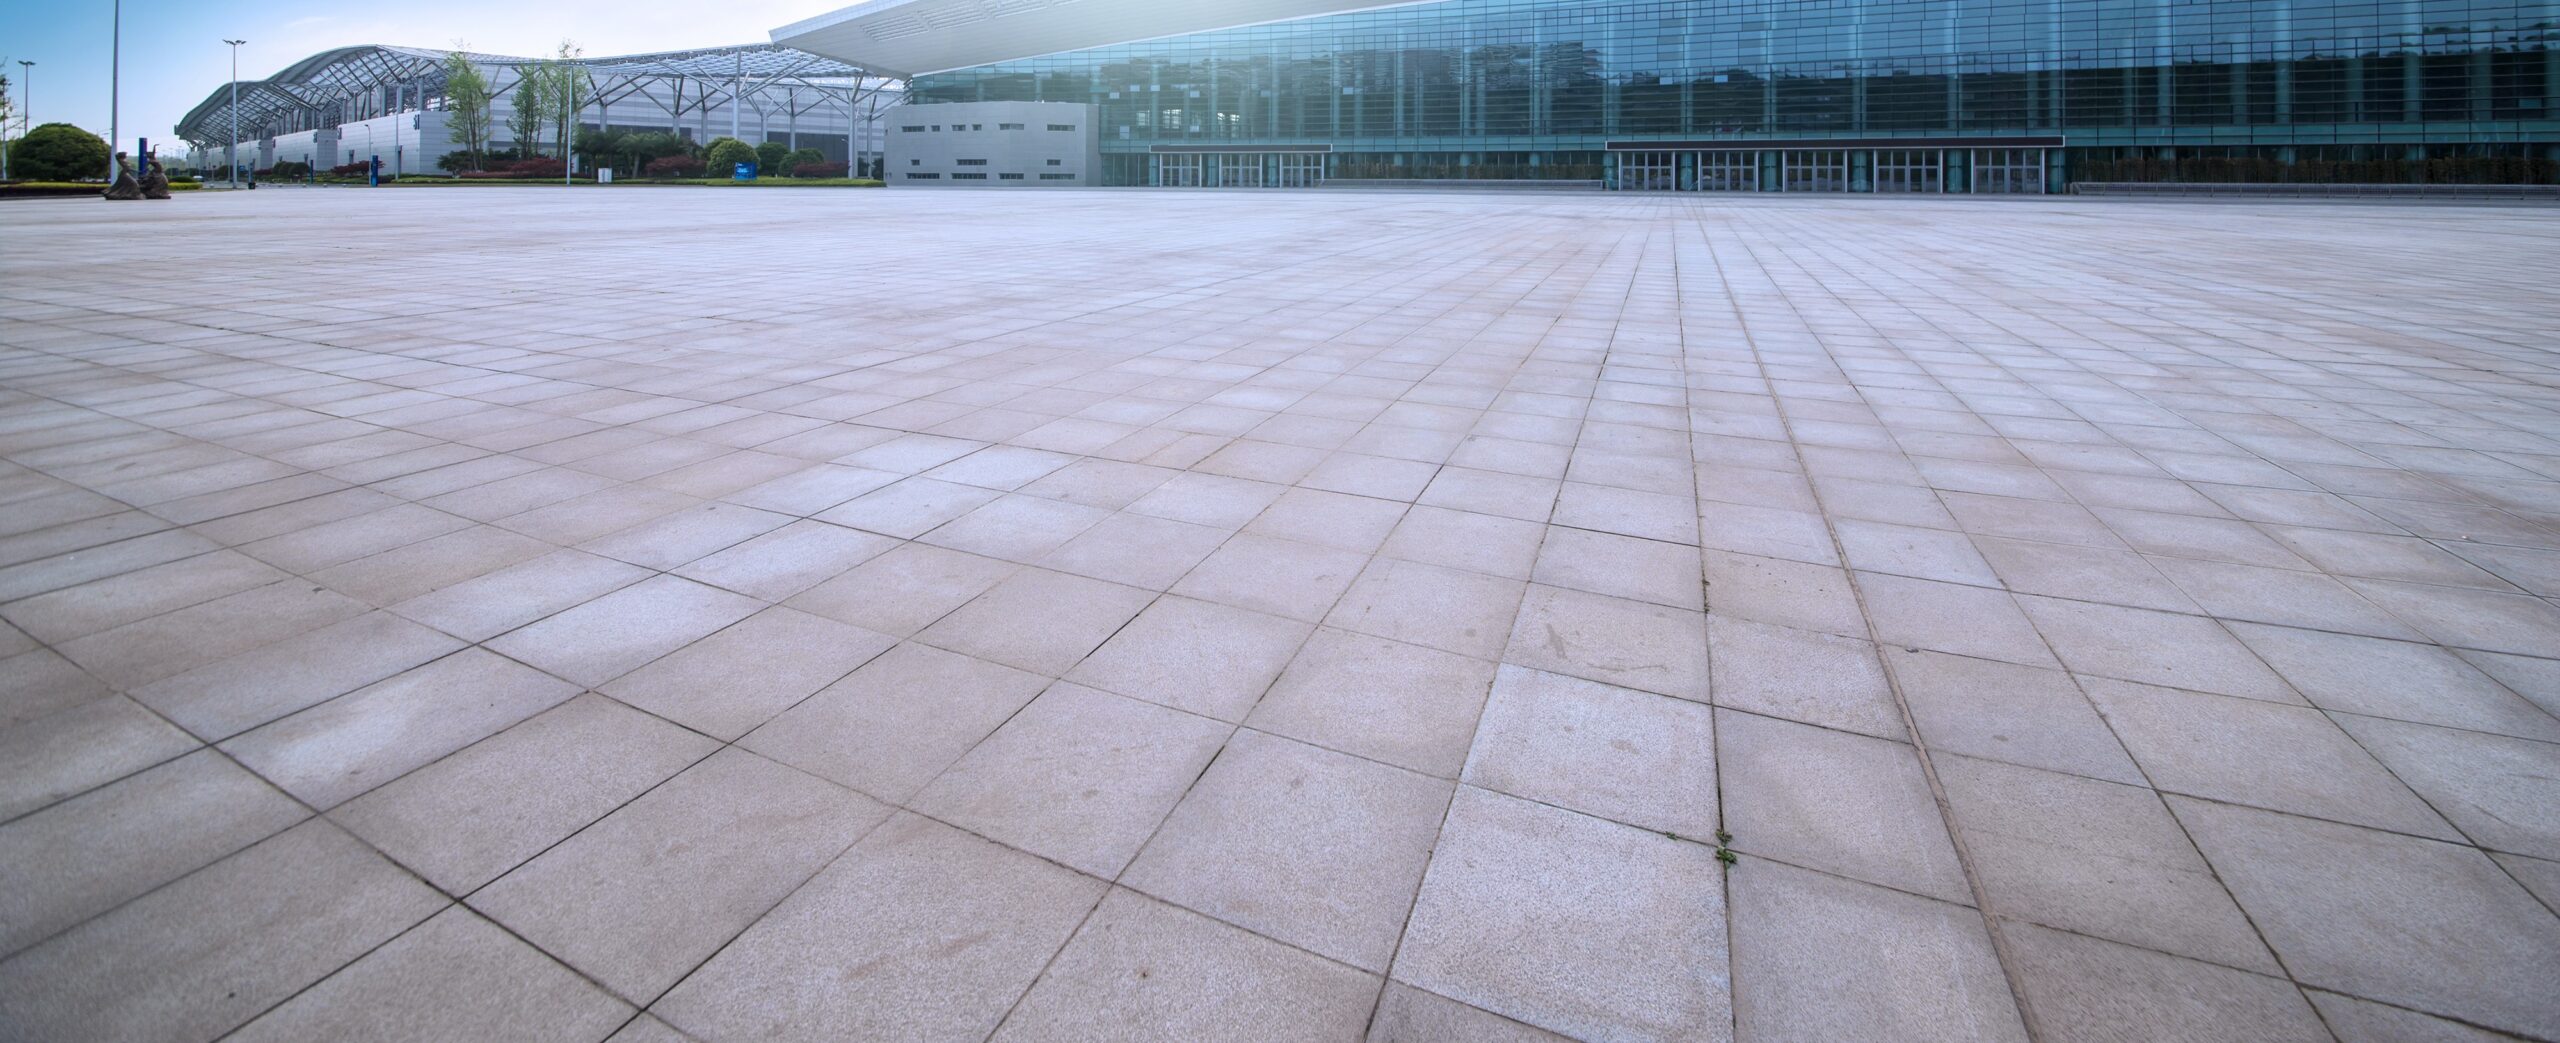
7. Seamless Indoor-Outdoor Transitions
The smooth transition from indoor polished surfaces to outdoor decorative concrete driveways, patios, or paths is increasingly important in design, especially in Australia during the spring. Companies want all areas to have a consistent aesthetic; consider hospitality spaces where the interior of the café blends into a textured courtyard with ornate concrete accents.
To maintain a consistent colour scheme, exposed aggregate concrete finishes or sealed coloured surfaces are commonly used outdoors and paired with burnished or polished finishes indoors.
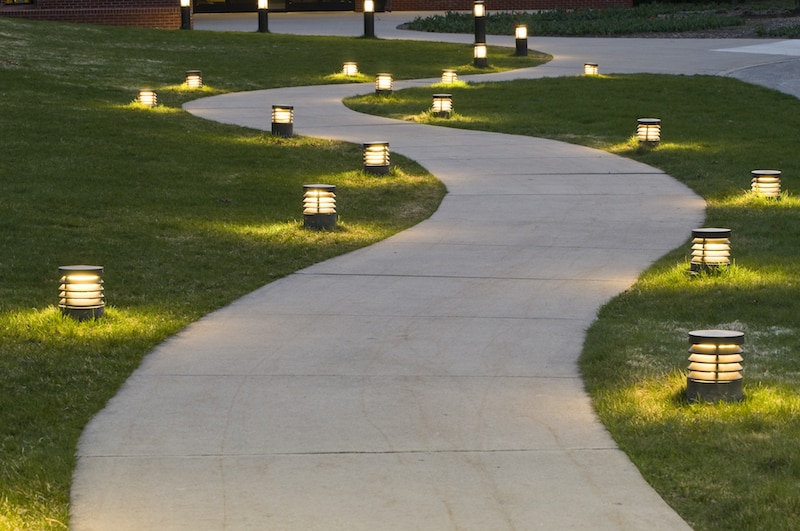
8. Concrete as a Canvas for Light and Space
Lastly, concrete is being acknowledged by commercial designers as a medium for experimenting with spatial perception and light reflection. While textured or darker concrete tones give depth and intimacy to larger open spaces, polished surfaces reflect light, brightening interior spaces.
Concrete can be used creatively to turn plain flooring into a feature element by using light-colored aggregates, LED lighting integrated into grooves, or selectively polished areas. This way, concrete becomes more than just a component of the construction; it becomes a part of the brand experience.
Conclusion
Concrete has solidified its position as a foundational material and a design tool in commercial construction, from ornamental driveways to designer interiors. Durability, adaptability, and changing aesthetic choices – like textured aggregates, steel fibre reinforced finishes, and coloured concrete – continue to influence how areas appear and work.
These concrete design trends give businesses a long-lasting, economical, and imaginative way to leave a lasting impression on their customers’ feet and in their minds as they revamp their spaces this spring.